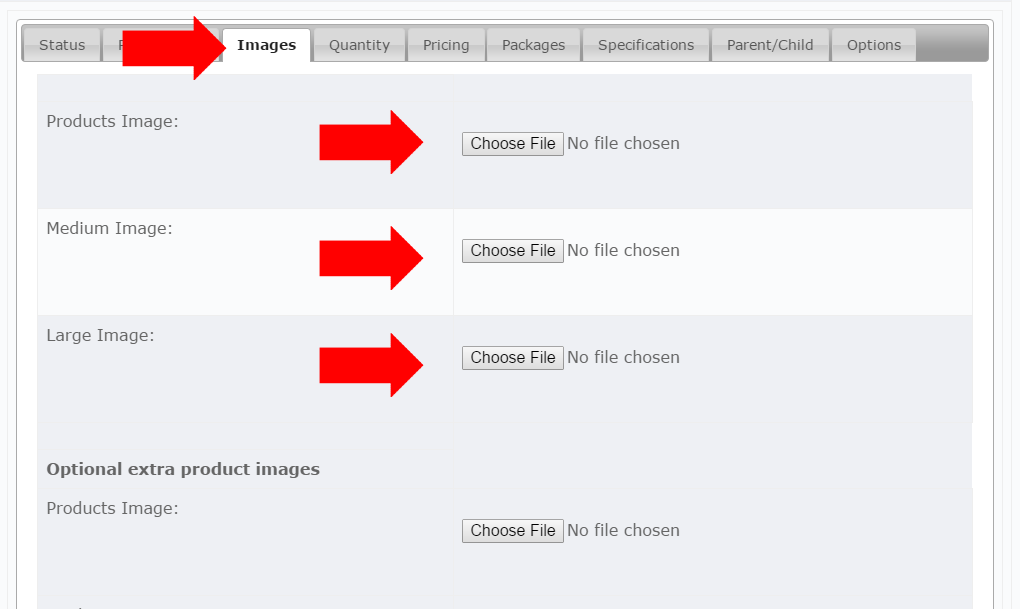
Creating a product / Adding a new productStep 1: Log in to the admin of your website. In the navigation menu to your left you will eee the option "Catalog". Click it. 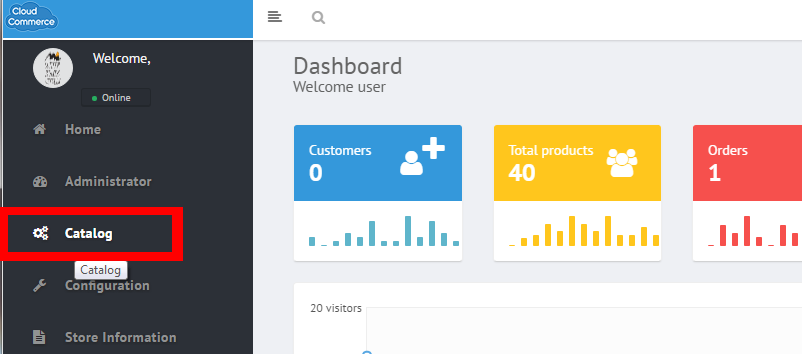 step 2: Navigate from clicking "Catalog" to access a dropdown menu. At the top, click "Categories/Products". 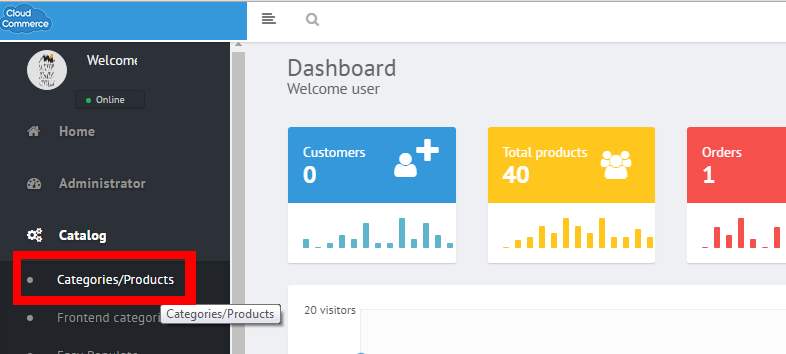 Step 3: You will see a number of folders, you may choose which one or add a new category for the product you are going to be creating. In this example, a test category is created and selected. 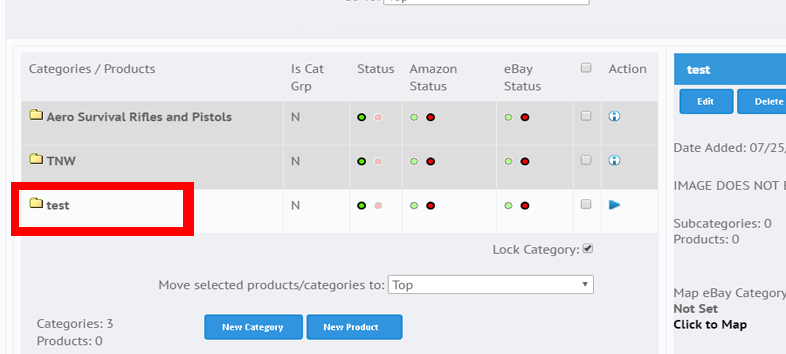 Step 4: There will be a number of products shown however for this example, this is a new category so there are no products yet. Hit the "new Product button" to add a new product. 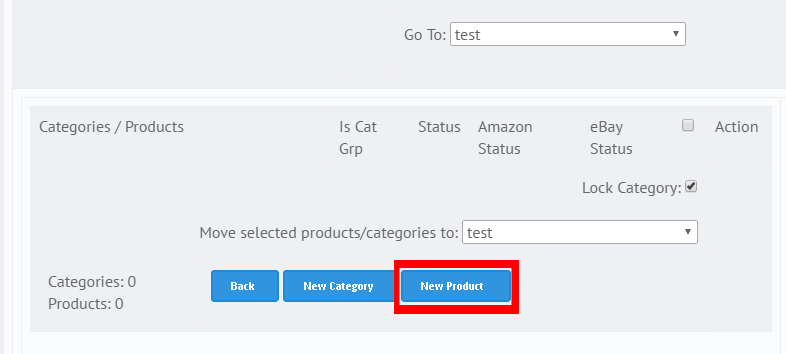 Step 5: Right away you will notice several tabs. You will need to go through all of these to create a new product correctly. The first one is "status". From here you can determine rather this product updates with the feeds or not, if the product is active or not, and rather or not a disclaimer is needed. 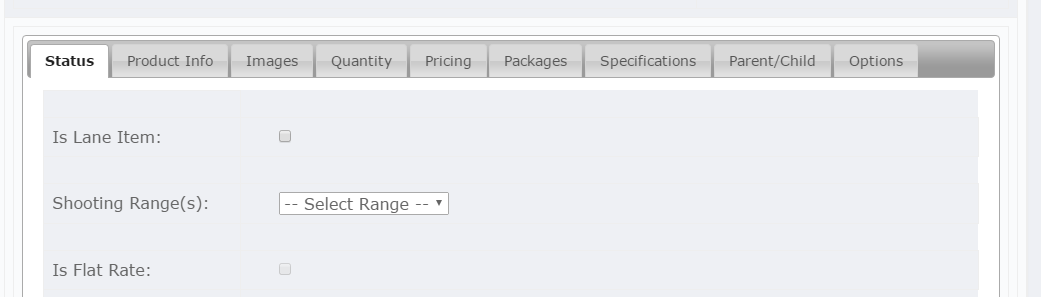 Step 6: The next tab "Product Info". This is very important. Here the product's name and description of what that product is can be placed. This allows you to put all of the information customers need to know about said product. The details can be styled as well using the buttons above the text field pointed out by the three red arrow. 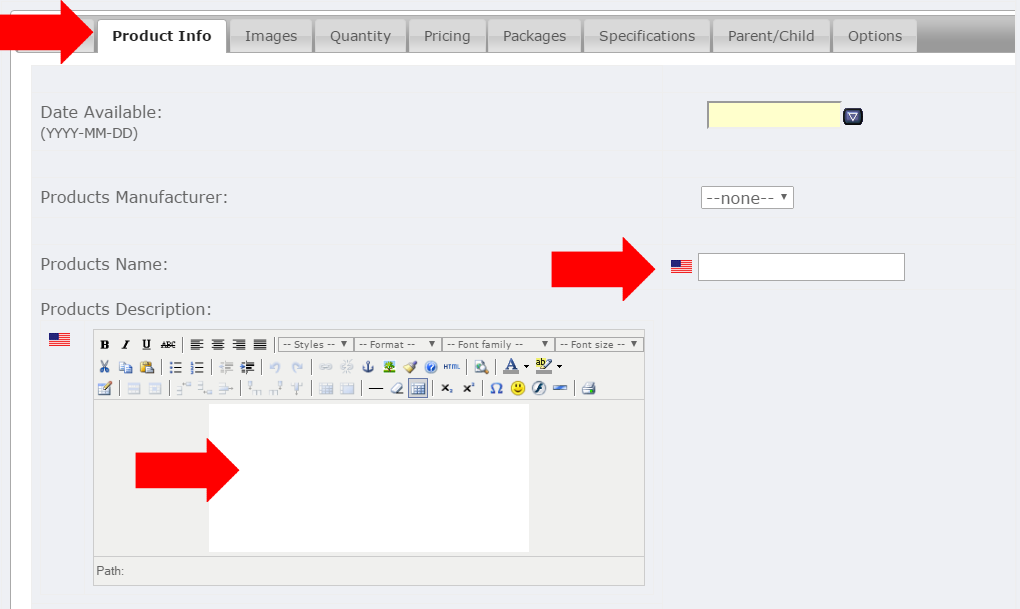 Step 7: The "Images" tab allows you to upload the product images. You will need a small, medium and large for your product.
 Step 8: The Quantity tab allows you to put how many of said product is kept in your warehouse and how many you keep in your sotre. 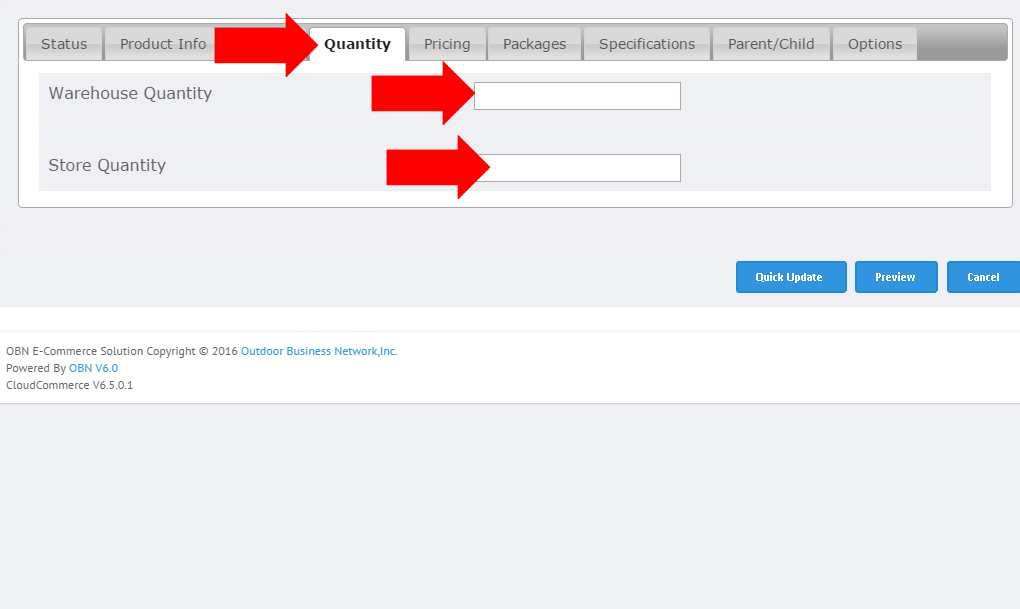 Step 9: Now it's time to give your product a price. Be sure to select if the product has a tax class or not. Further details on pricing can be found in this knowledgebase article > Setting Pricees. 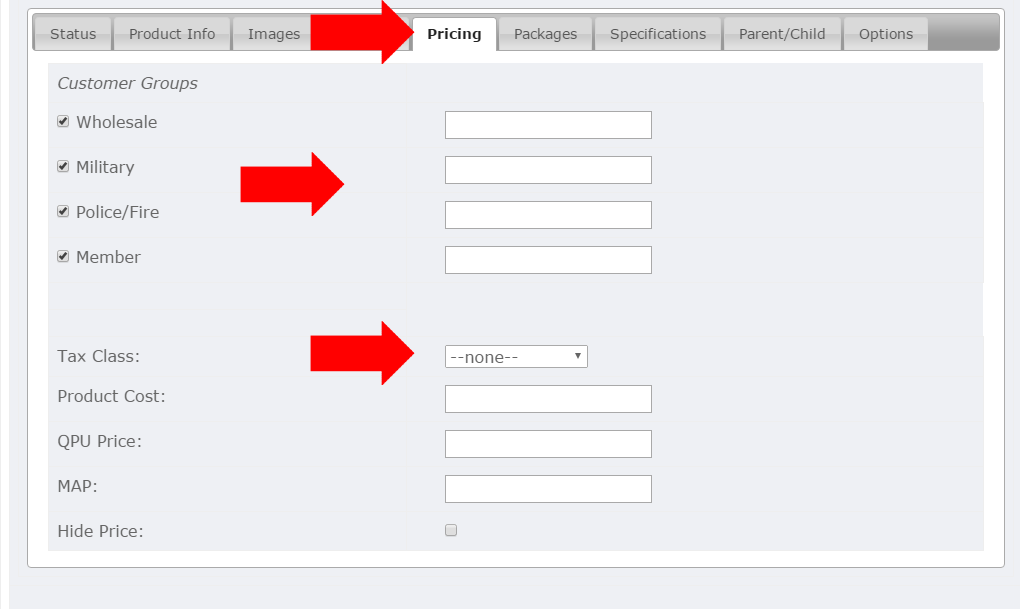 Step 10: Next, "Packages" tab. Details are covered in this following knowledge base article > Setting Product Packages Step 11: Both the "Specifications" and "Parent/Child" tabs. Details are covered in the following knowledge base article > Product Parent/Child, Attributes, and Specifications Step 12: Once you have provided all of the required information, scroll down to see three button options. Click "Preview". 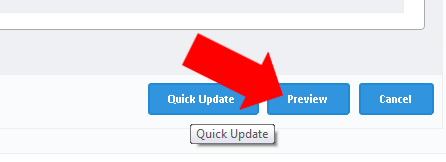 Step 13: After making sure everything looks correct, hit the "Update" button to finish uploading your product. 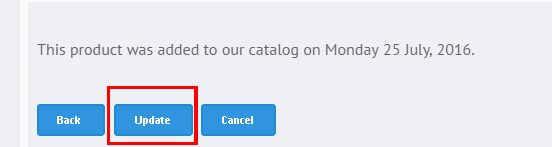 Need help? Have questions or don't have the time? Be sure to give us a call at 800.699.0820. We are here to help. You can also bring up any issues by using our ticket system. Hope this tutorial was helpful. |
- 0 Users Found This Useful
